One thing that you may not know about me is that I collect keychains. Pretty much everywhere I go that is something new, I usually have to get a keychain for. When I was visiting colleges, I collected a keychain from every college I officially visited and some others that were “unofficial” visits. When I go to a new state or a new country, I like to get keychains as a reminder of where I’ve been.
If I have friends or family going to other places, I ask them to get me a keychain as well if they’re buying souvenirs for themselves or other people. As a result, in my almost 21 years of life, I have collected a LOT of keychains. In fact, after all my recent travels on a cruise and then down to Memphis, I am up to 22 different states and 13 different countries.
Some of my keychains are really cool and unique. For the longest time, I have basically kept them in a small (clean) trash can. That was fine to store them, but that wasn’t really a good way to display them. So I hopped on Pinterest and began to gather some ideas. There were some decent ideas, but my dad and I got to thinking, and we decided to build one instead that ended up being much cheaper, sturdier, and better than anything else I could ever imagine! So, here’s a tutorial for a DIY keychain display! My final product ended up being 20″x 37.5″

Supplies:
- 12′ Wood (we used poplar because it was pretty durable without being overly heavy; bought 2- 6’x3.5″ boards)
- 8′ of 1’2″ steel conduit pipe
- 8 washers 3/4″
- 8 hitch pins
- 20″x37.5″ wood for background (we used a piece of cedar luan we had for another project; it comes 1/4″ thick in 4’x8′ sheets
- Wood screws
- Nails
- Table saw
- Drill press
- Drill
- 1/4″ drill bit
- 13/16″ drill bit
- Pipe cutter
- File
- Screwdriver (for wood screws)
- Hammer
- Measuring tape
- Stain (if desired)
- Background (if desired)
- Wall hanging hardware
Steps:
- Measure out your wood to desired length. Use the table saw to get a clean, even cut.
- Mark out your holes for the rods. (For reference, the top hole is 4″ from the top and every subsequent hole is 8″ apart; there ended up being 4 rows. Our holes were also centered, but yours don’t have to be)
- Use the 13/16″ drill bit to drill 8 holes in your marked spot. We went with the 13/16″ because we wanted the holes to be big enough to let the rods slide in and out with relative ease.
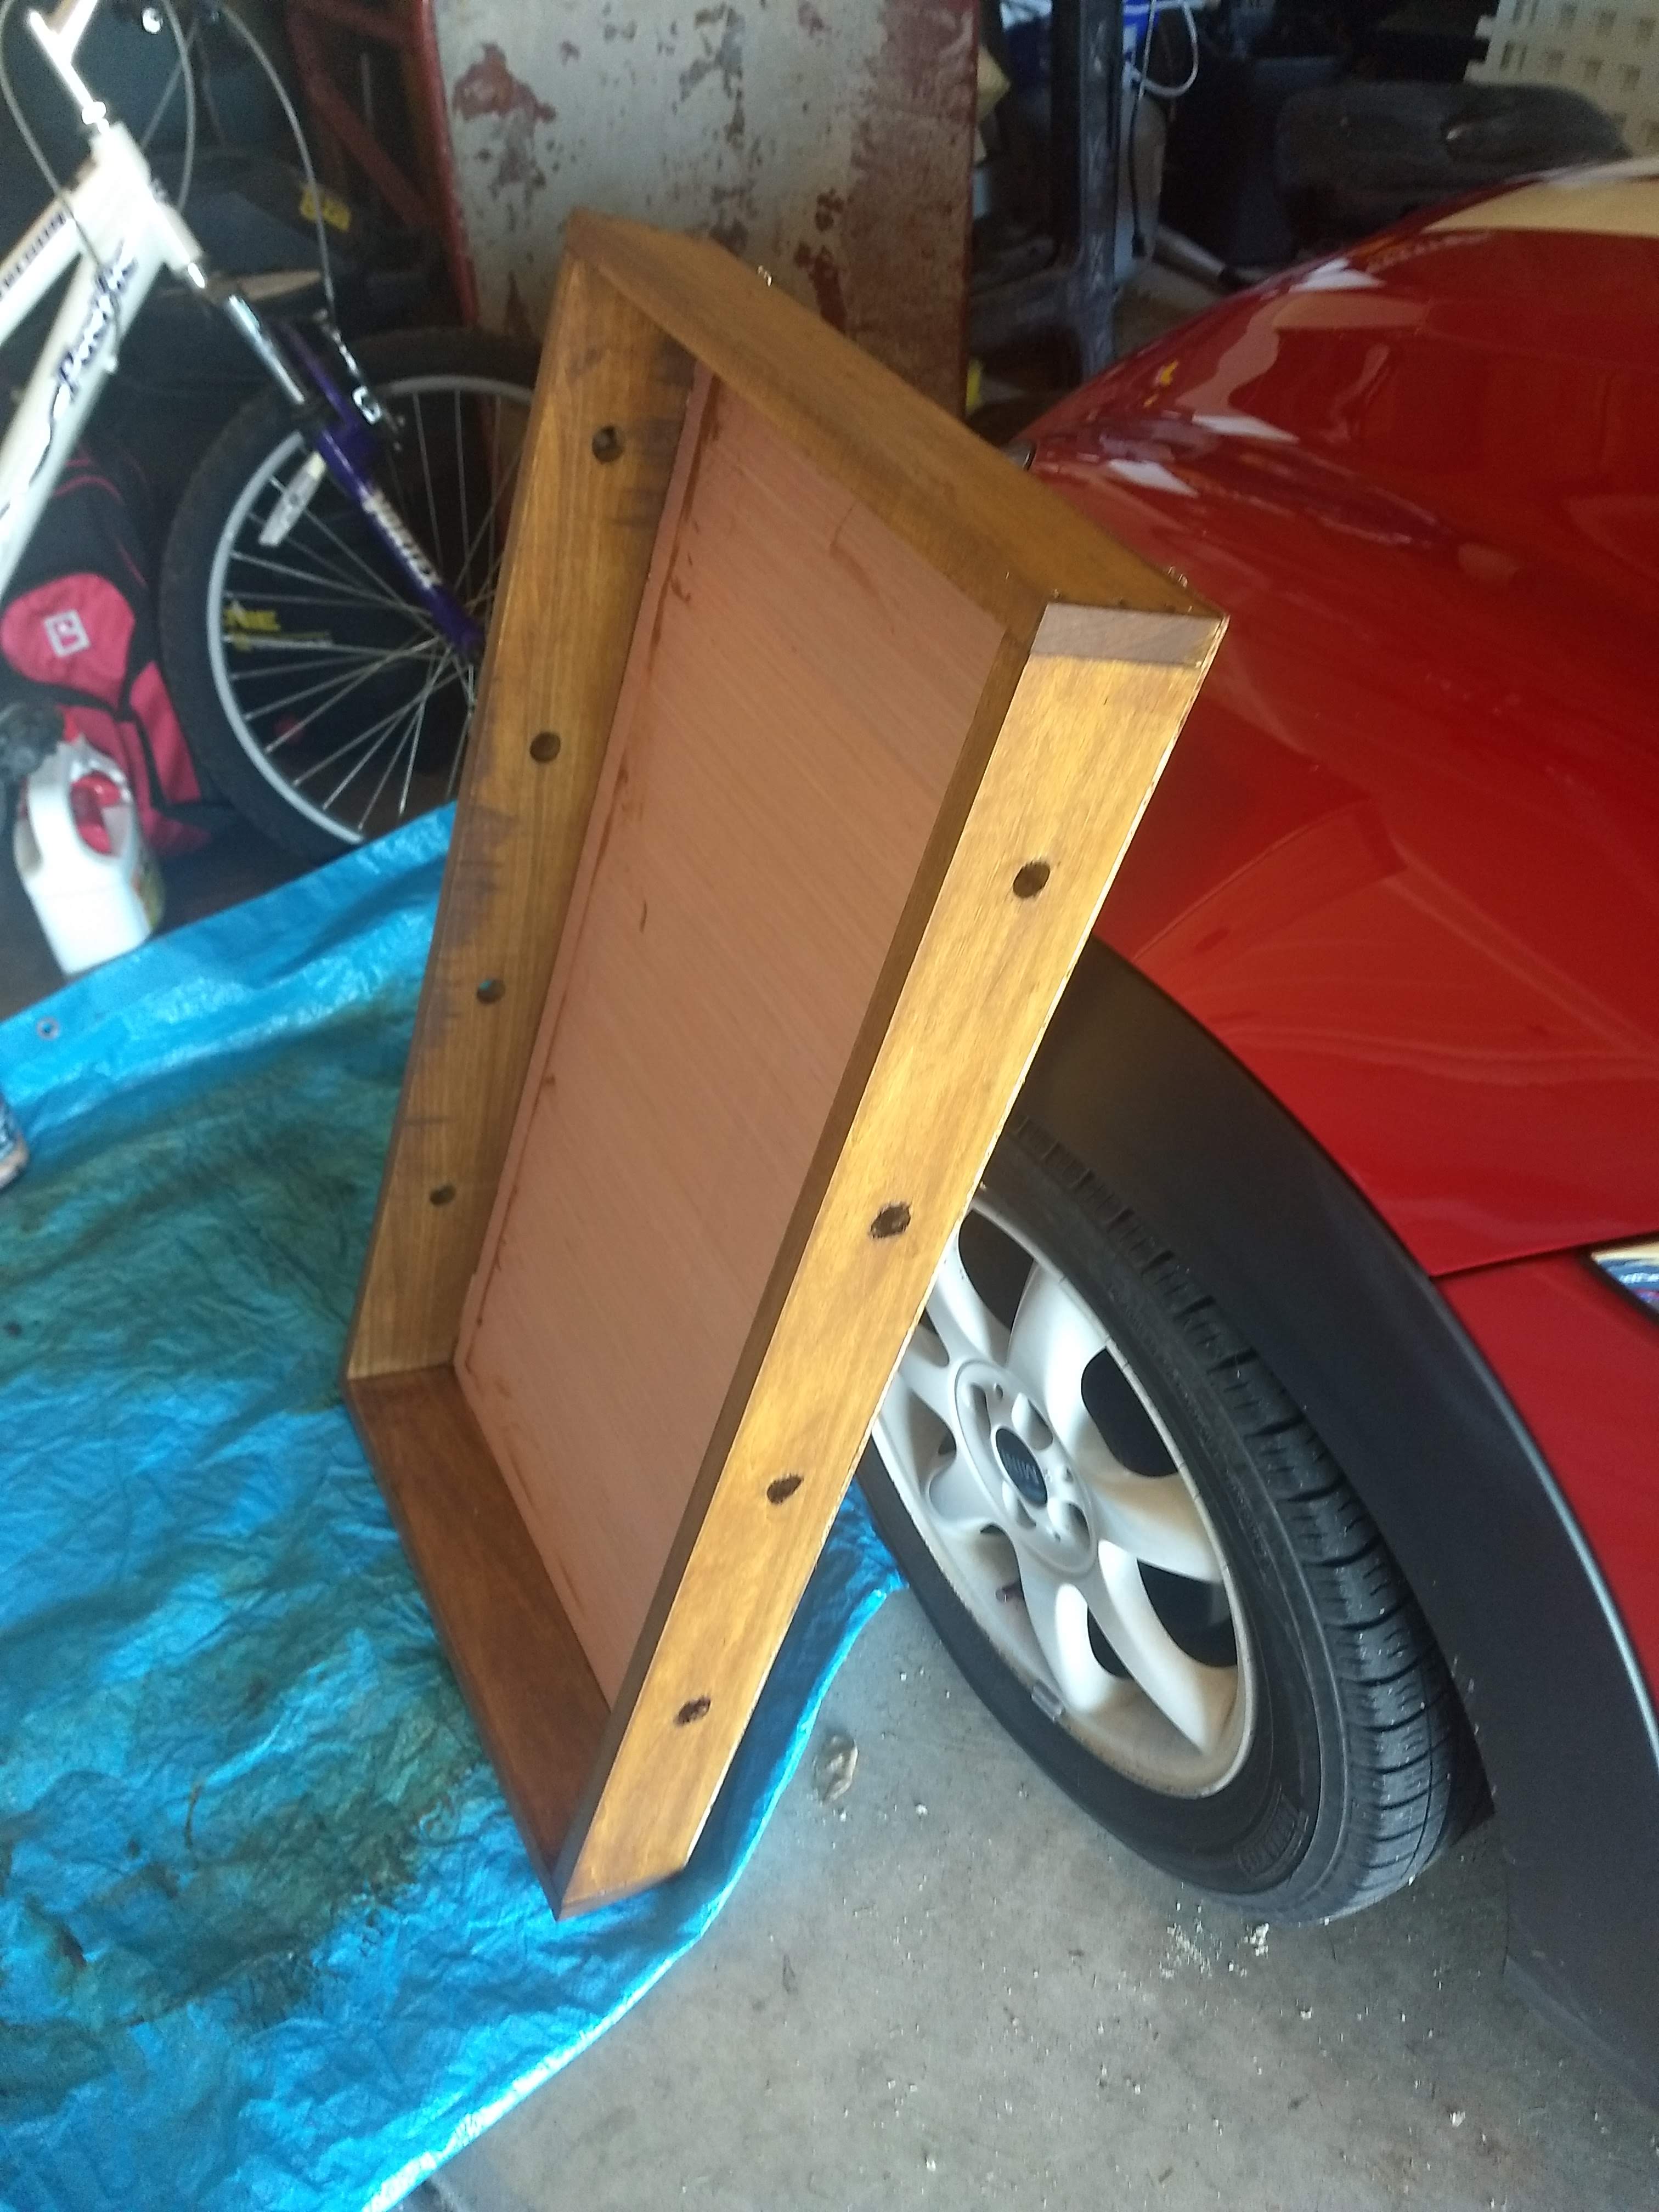
- Put two pieces perpendicular to each other and make them flush (you don’t want one side hanging over the under).
- Take the 1/4″ drill bit and drill three holes all the way down where the two boards meet (One in the center and two on the ends). Then, screw in your wood screws into those pilot holes. (The pilot holes help prevent the wood from splitting as the screws enter it). We found that it was best to insert the pilot holes in the top and bottom pieces of the frame.
- Repeat steps 4 and 5 with the remaining 3 corners.
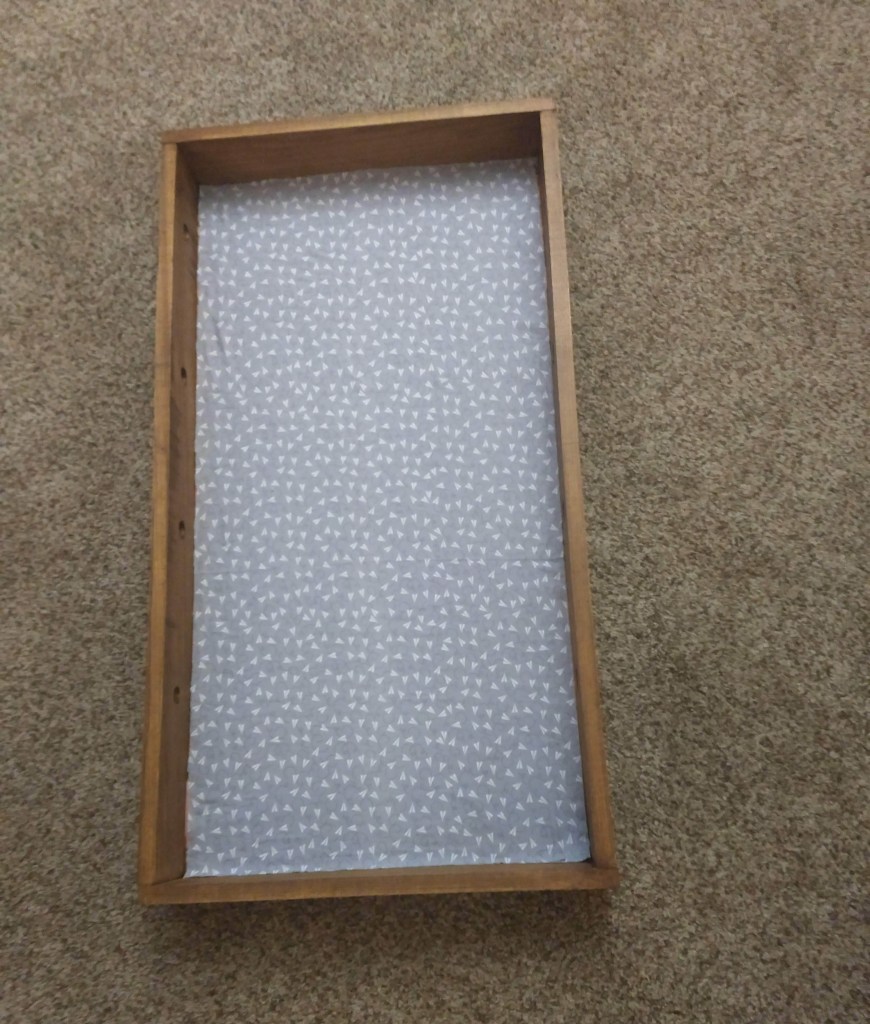
- Line up your background in the way you want it to go. Hammer the nails into place along the edge so that it is secured. Congratulations, you have built the basic frame!
- Measure the steel conduit to be a little bit longer than the width of your frame. Mine measures about 22″. Cut the rod with the pipe cutter to the desired length.
- Use the drill press to drill holes all the way through the steel conduit on each side. Get them pretty close to the edge so you don’t have to worry about the pins not fitting.
- If necessary, file down any burrs that come from the drill press. I speak from experience when I say that if the ends of the conduit are not smooth, then it will not fit in the 13/16″ hole.
- Repeat steps 8-10 on all rods until you have enough rods that are the desired length.
- Assemble by sliding the conduit through the drilled holes. Put the washers on either side to act as a buffer, and then put the hitch pins through the drilled holes on the end.
- Drill pilot holes into the back (preferably in the top piece so it doesn’t go through the background and show), and then secure the wall hanging hardware. Or if you are going to display it in another way, then you don’t have to do this step.

That’s really it! It honestly only took us a couple of hours to build and assemble. If so desired, you can stain the wood with any stain from a hardware store. I used Valspar Pre-Tinted Exterior Stain and Sealer in Canyon Brown (find it at Lowe’s here) and did two coats. I also used a rag to stain it, but if the brush method works better for you then by all means do that.

I would recommend staining before adding any backgrounds just to be safe. Then, to add the background, make sure it’s cut evenly. I used a glue gun and did a section at a time, pulling the fabric all the way across to avoid wrinkles.
The one downside to this design is that you have to assemble the whole display in the frame. The holes are not big enough to fit the keychains through. So I would secure one end with the washer and hitch pin, load all the keychains I wanted on the rod, and secure the other end. There is also no easy way to get to the middle to add or remove keychains. Quite a few keychains have to come off.
Honestly though, I am so happy with how this turned out. It looks amazing and it’s incredibly sturdy. My keychains look a whole lot better on this than they ever did in their previous storage. They’re all organized so I can see them all at just a glance.

I’d love to know what you think of this, or even if you end up making your own!!! As always,