I found a great, simple, and cheap DIY craft that is perfect for the holidays! This idea comes from this link. But I adapted it a little bit, so I wanted to share the creativity idea with you.
Supplies you will need:
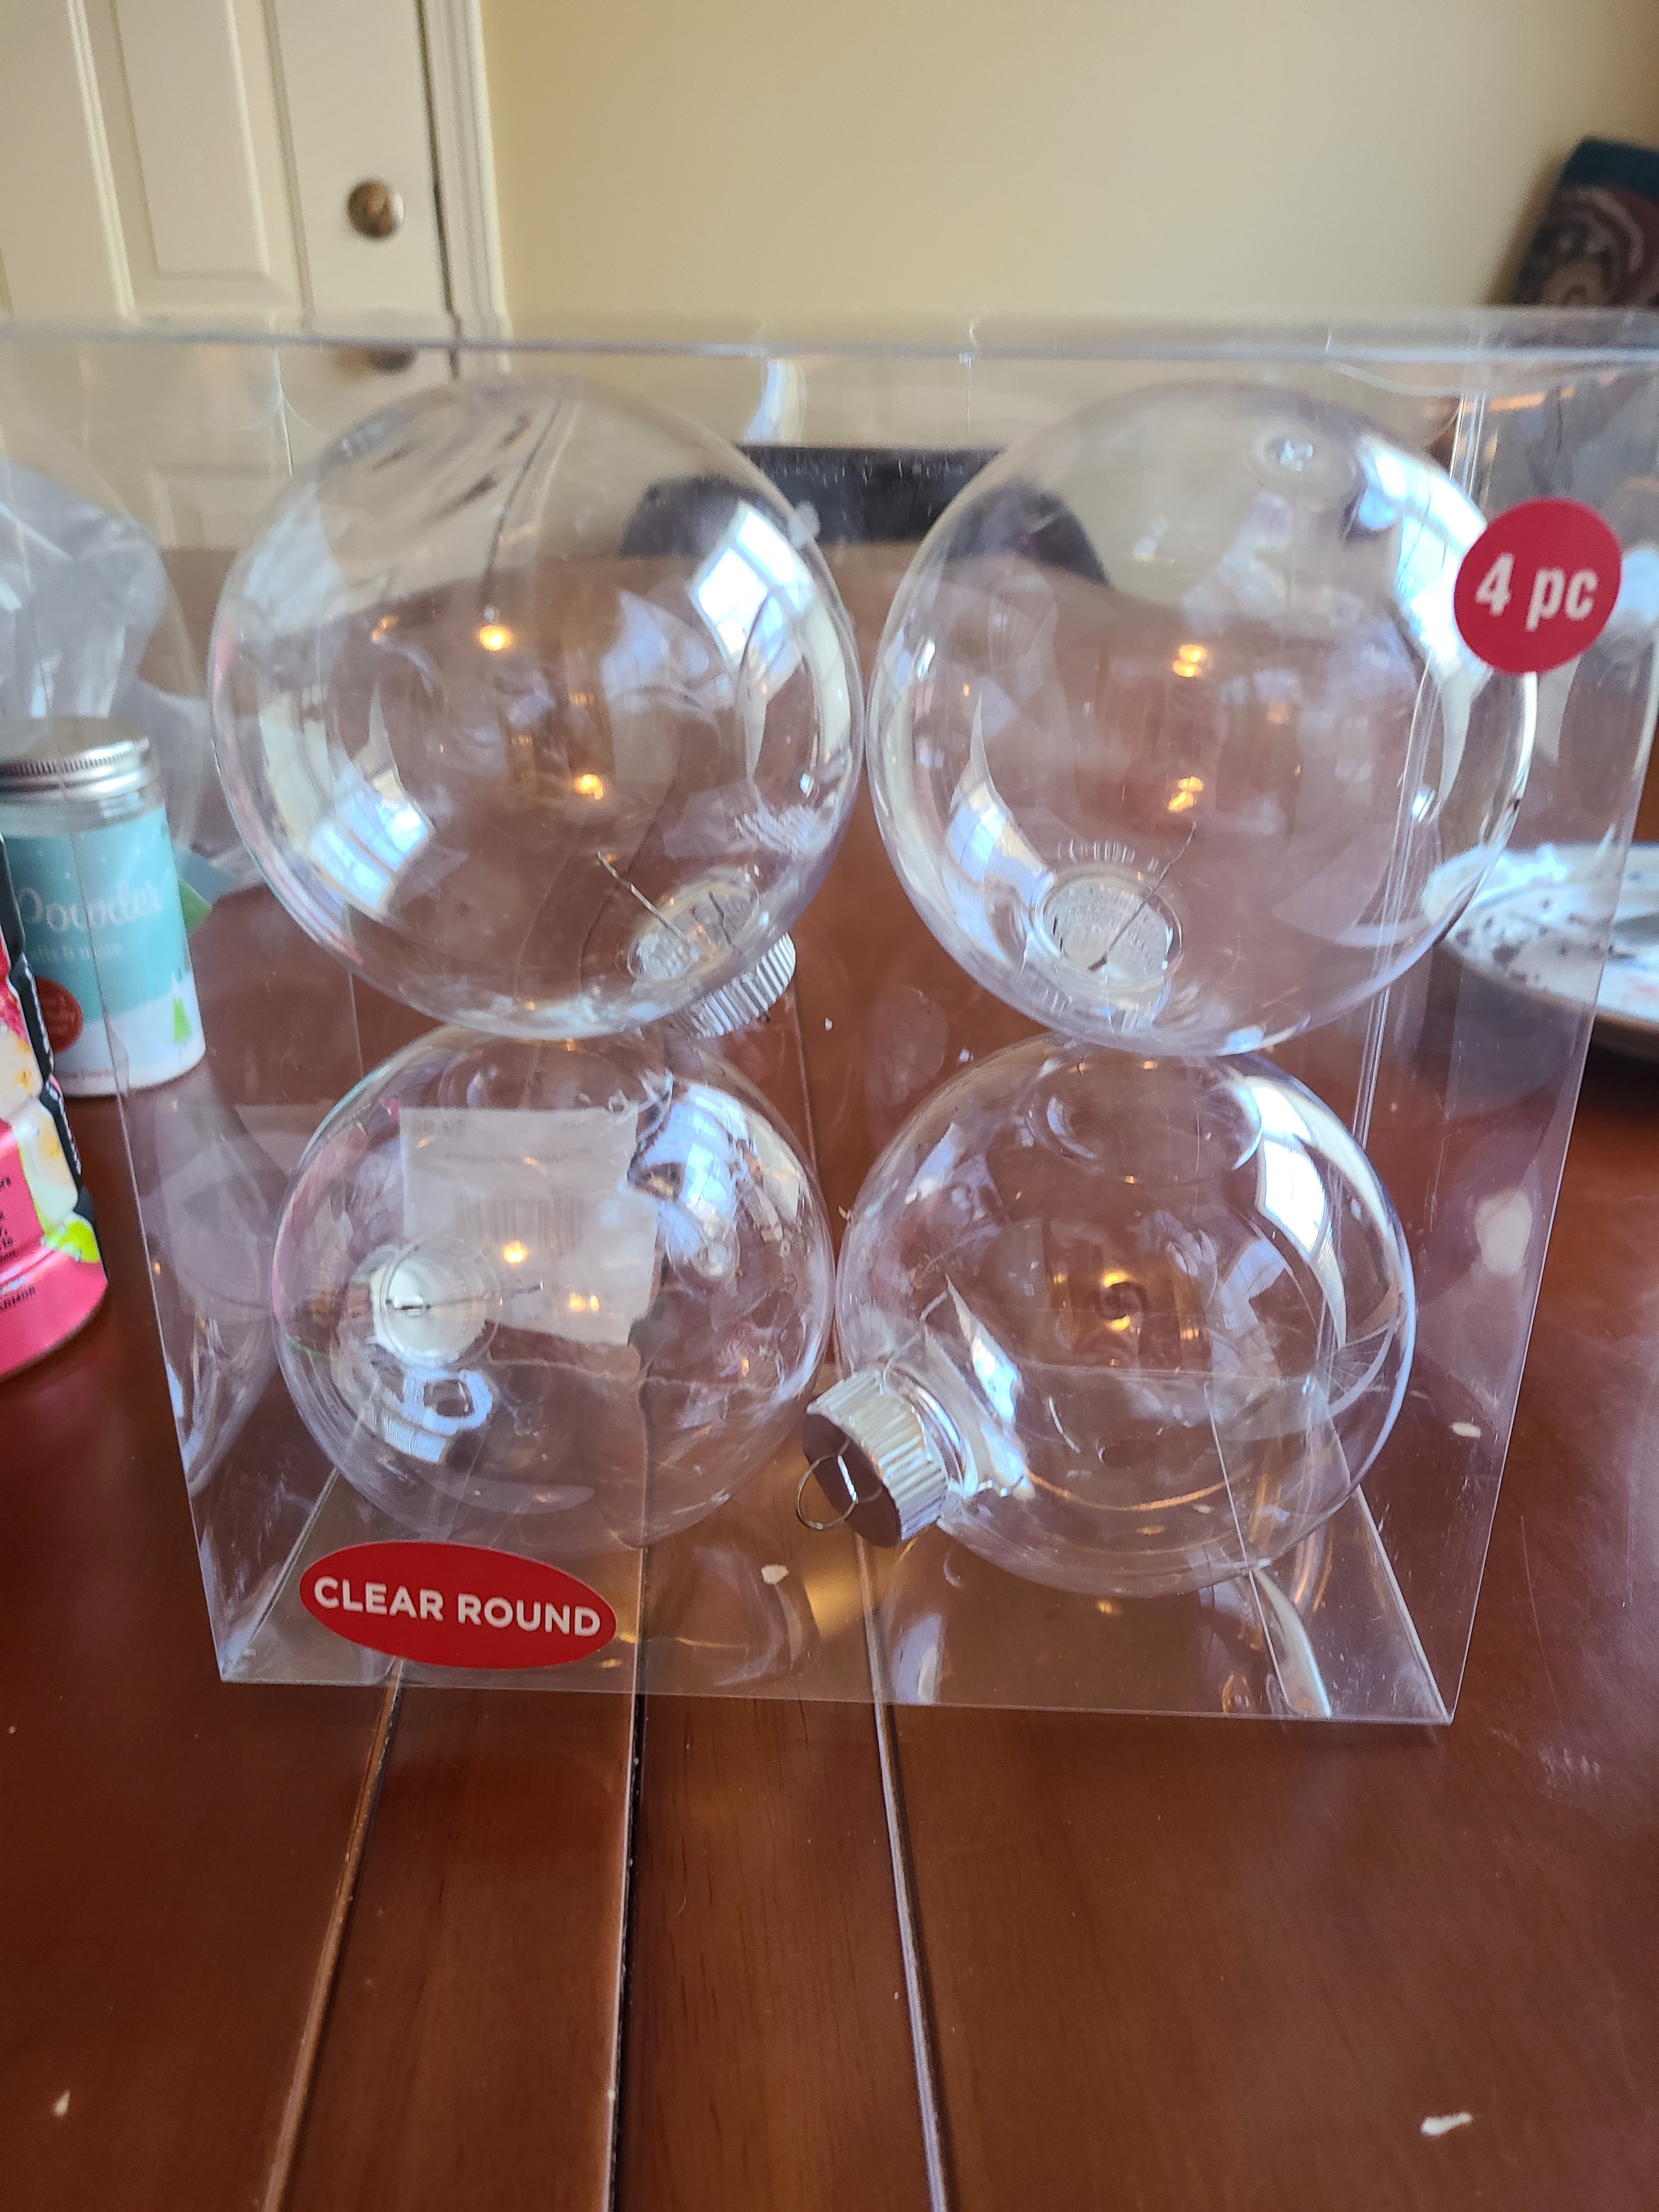
- Empty ornaments
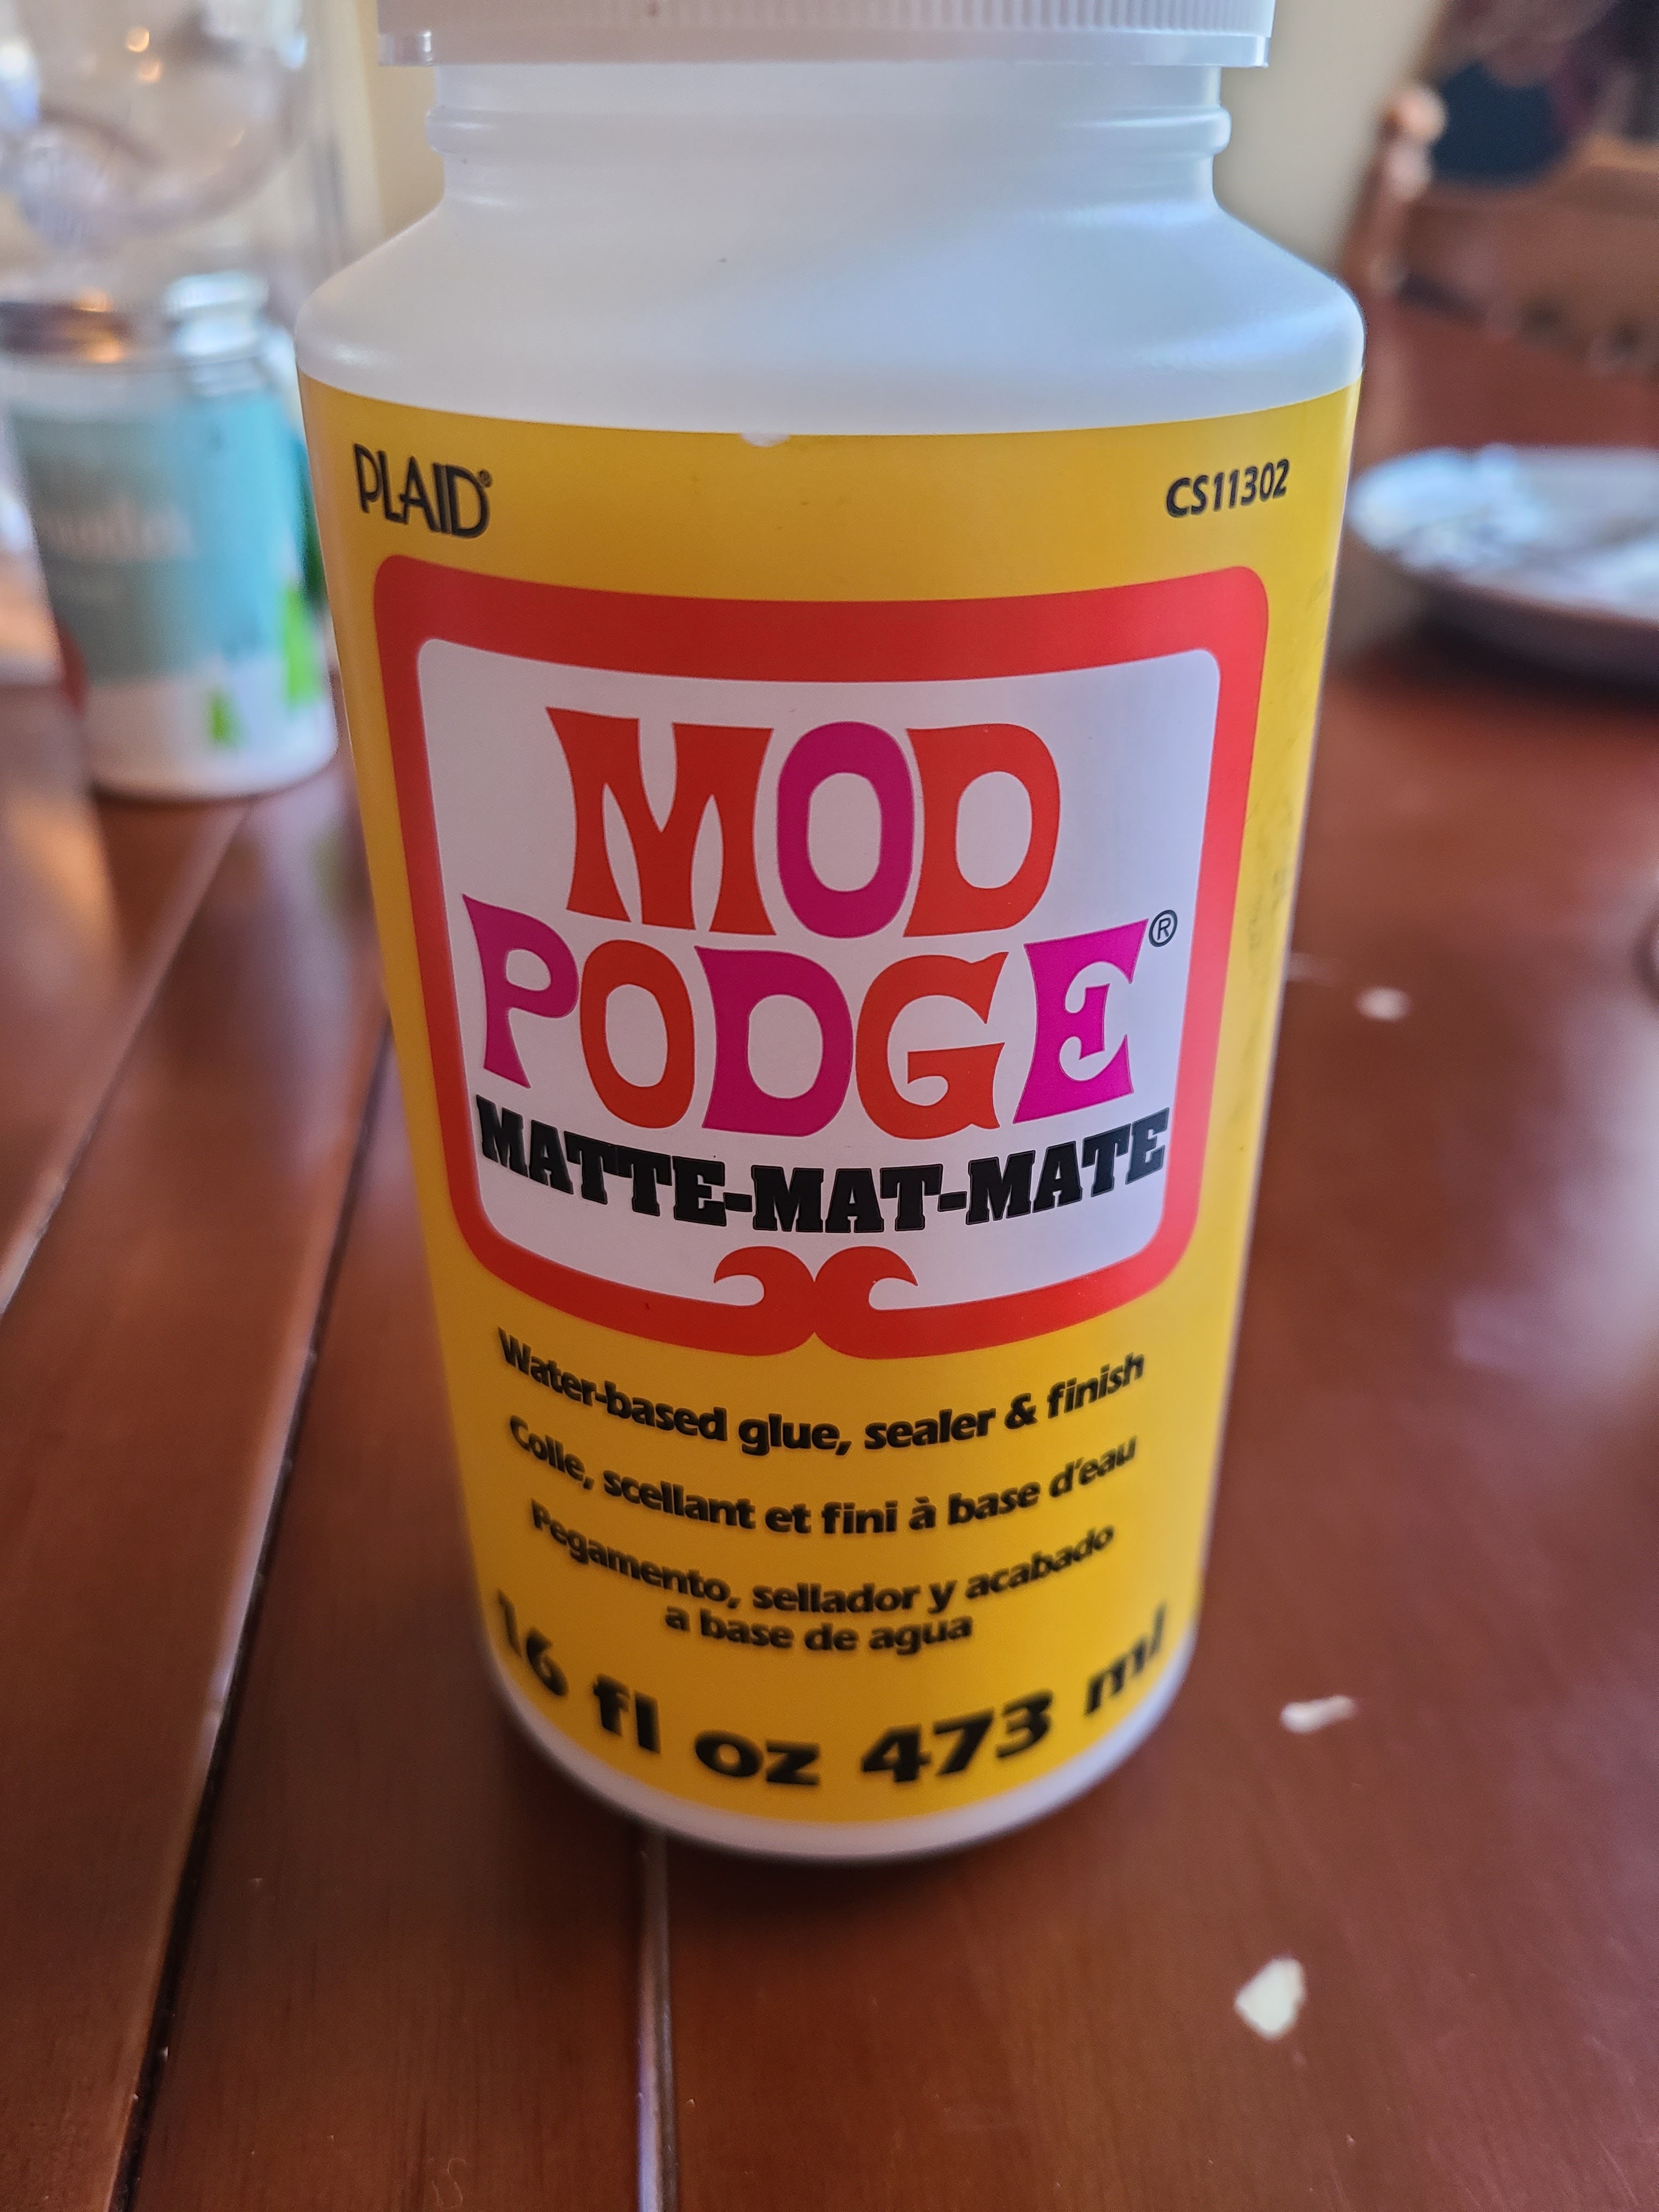
- Mod Podge and brush
- Glitter (any color)
- Photo printed on paper
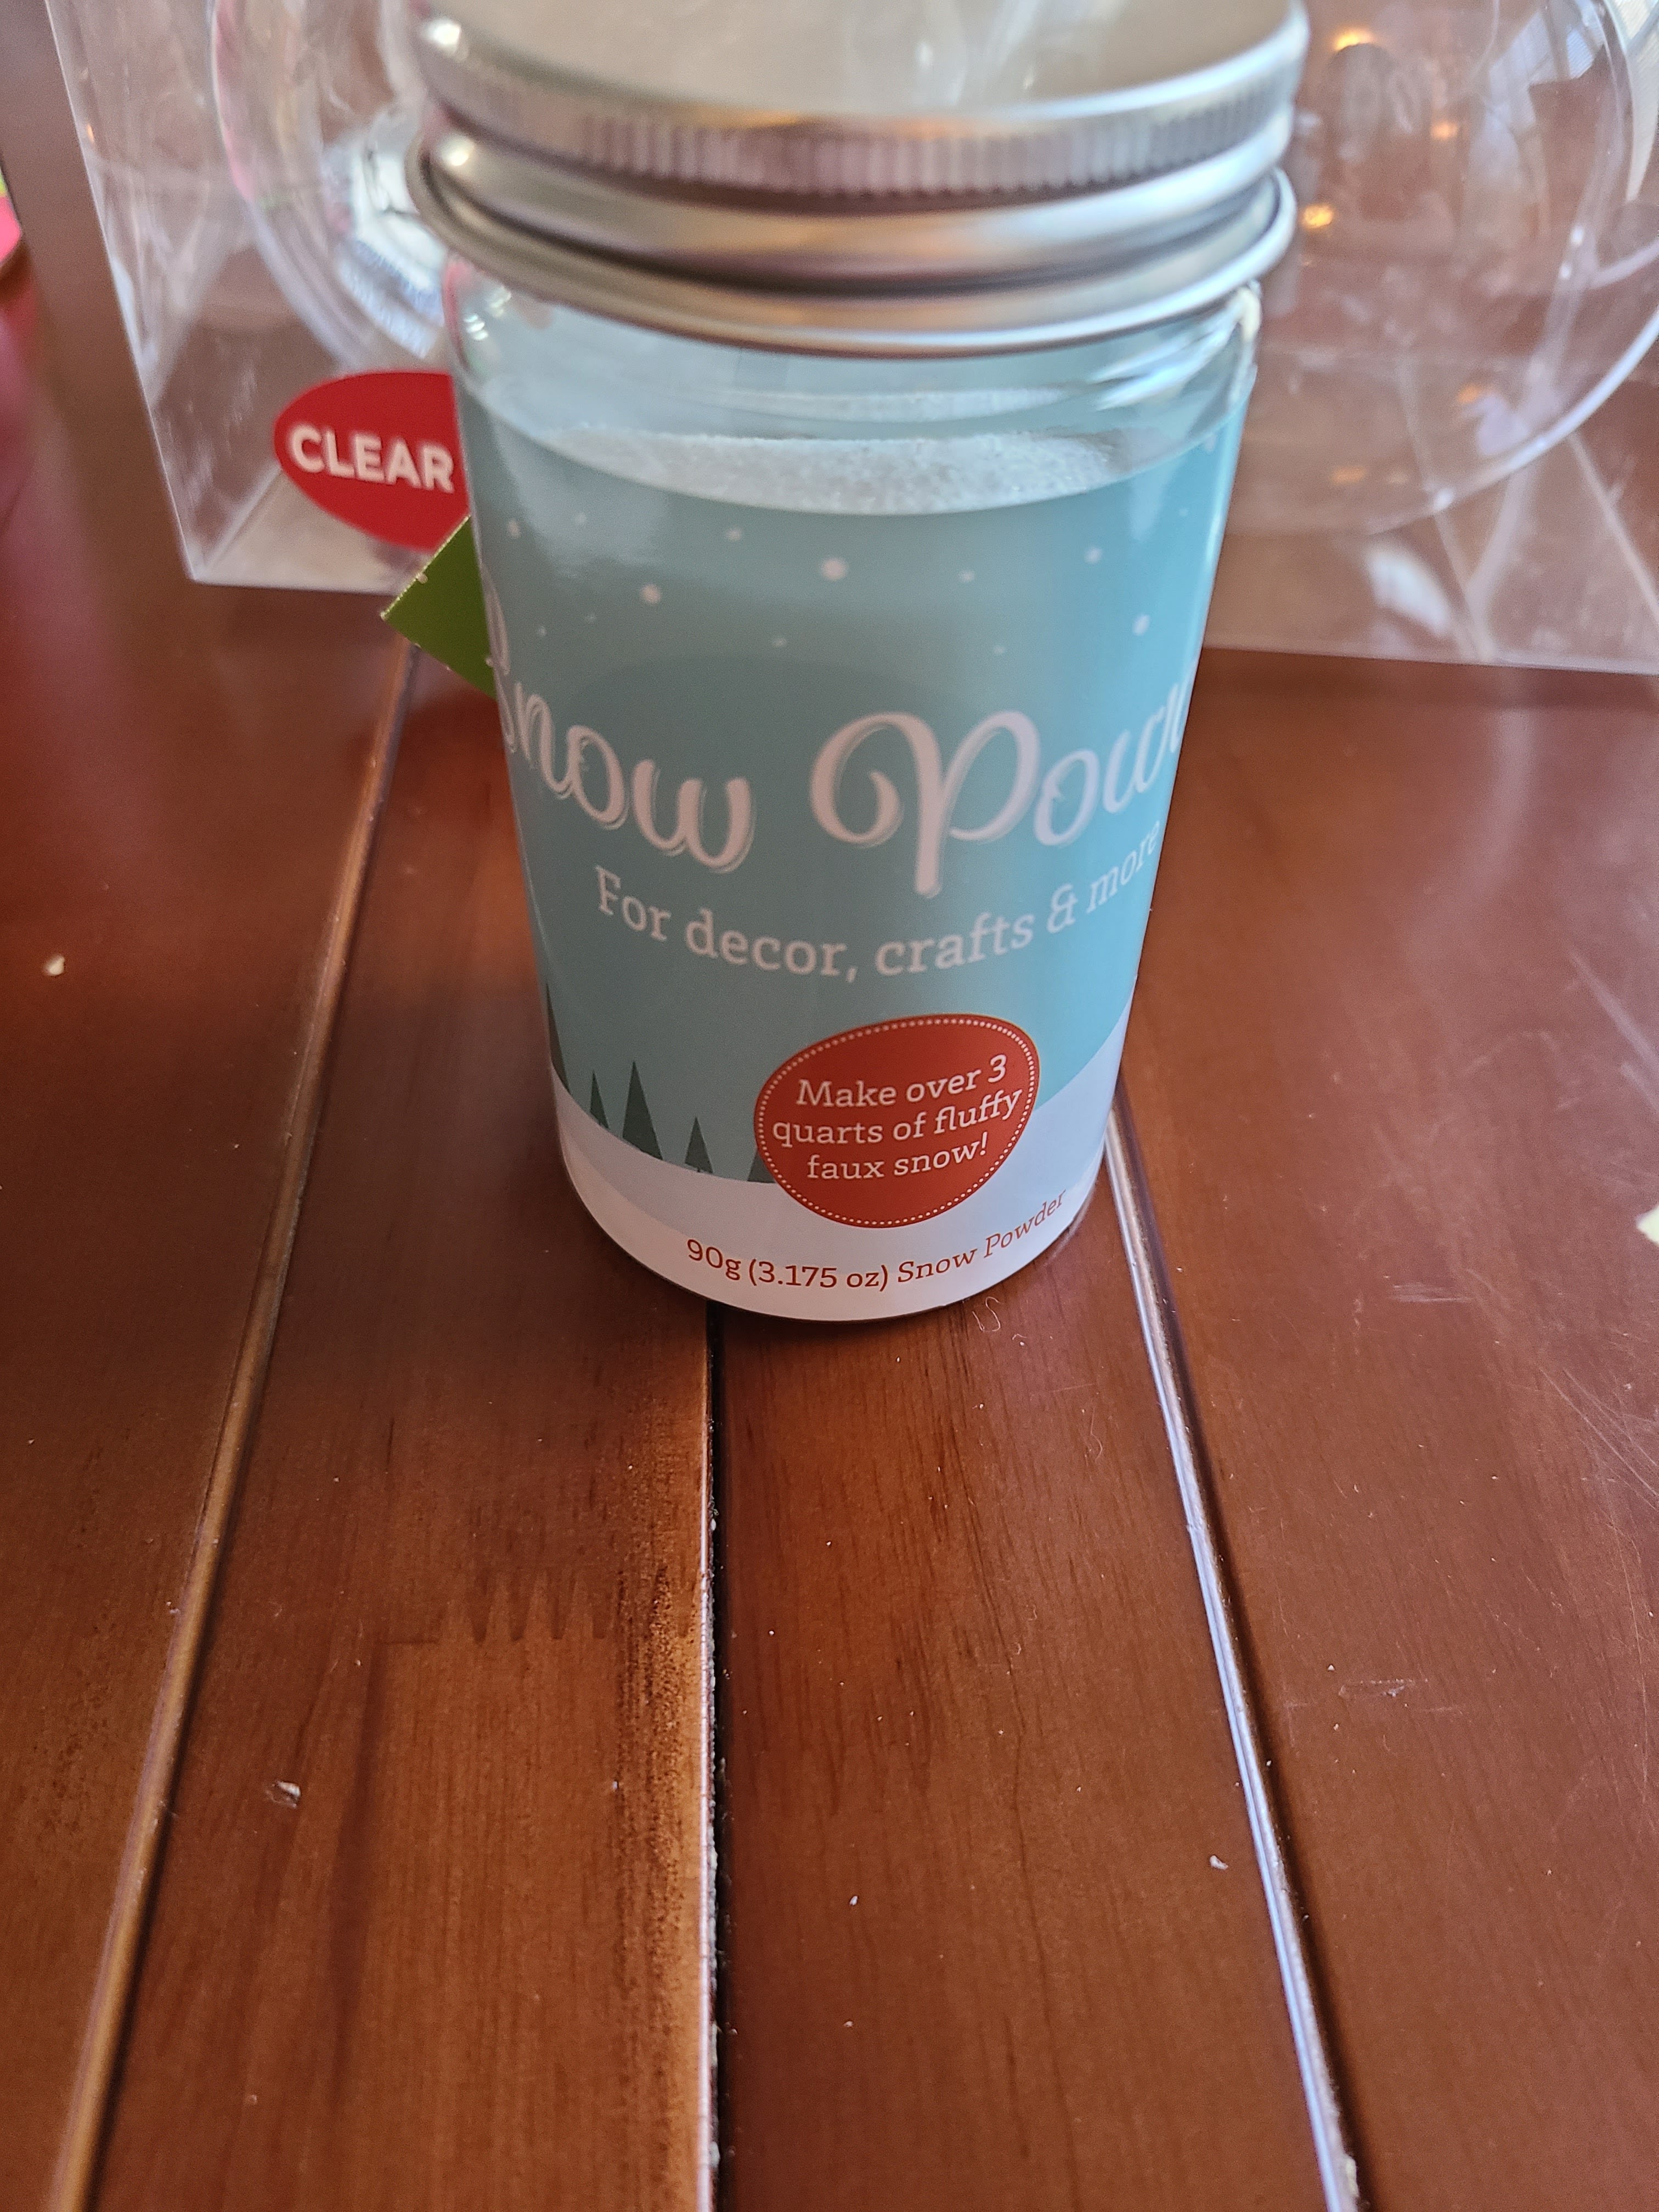
- Fake Snow (I used snow powder)

Steps:
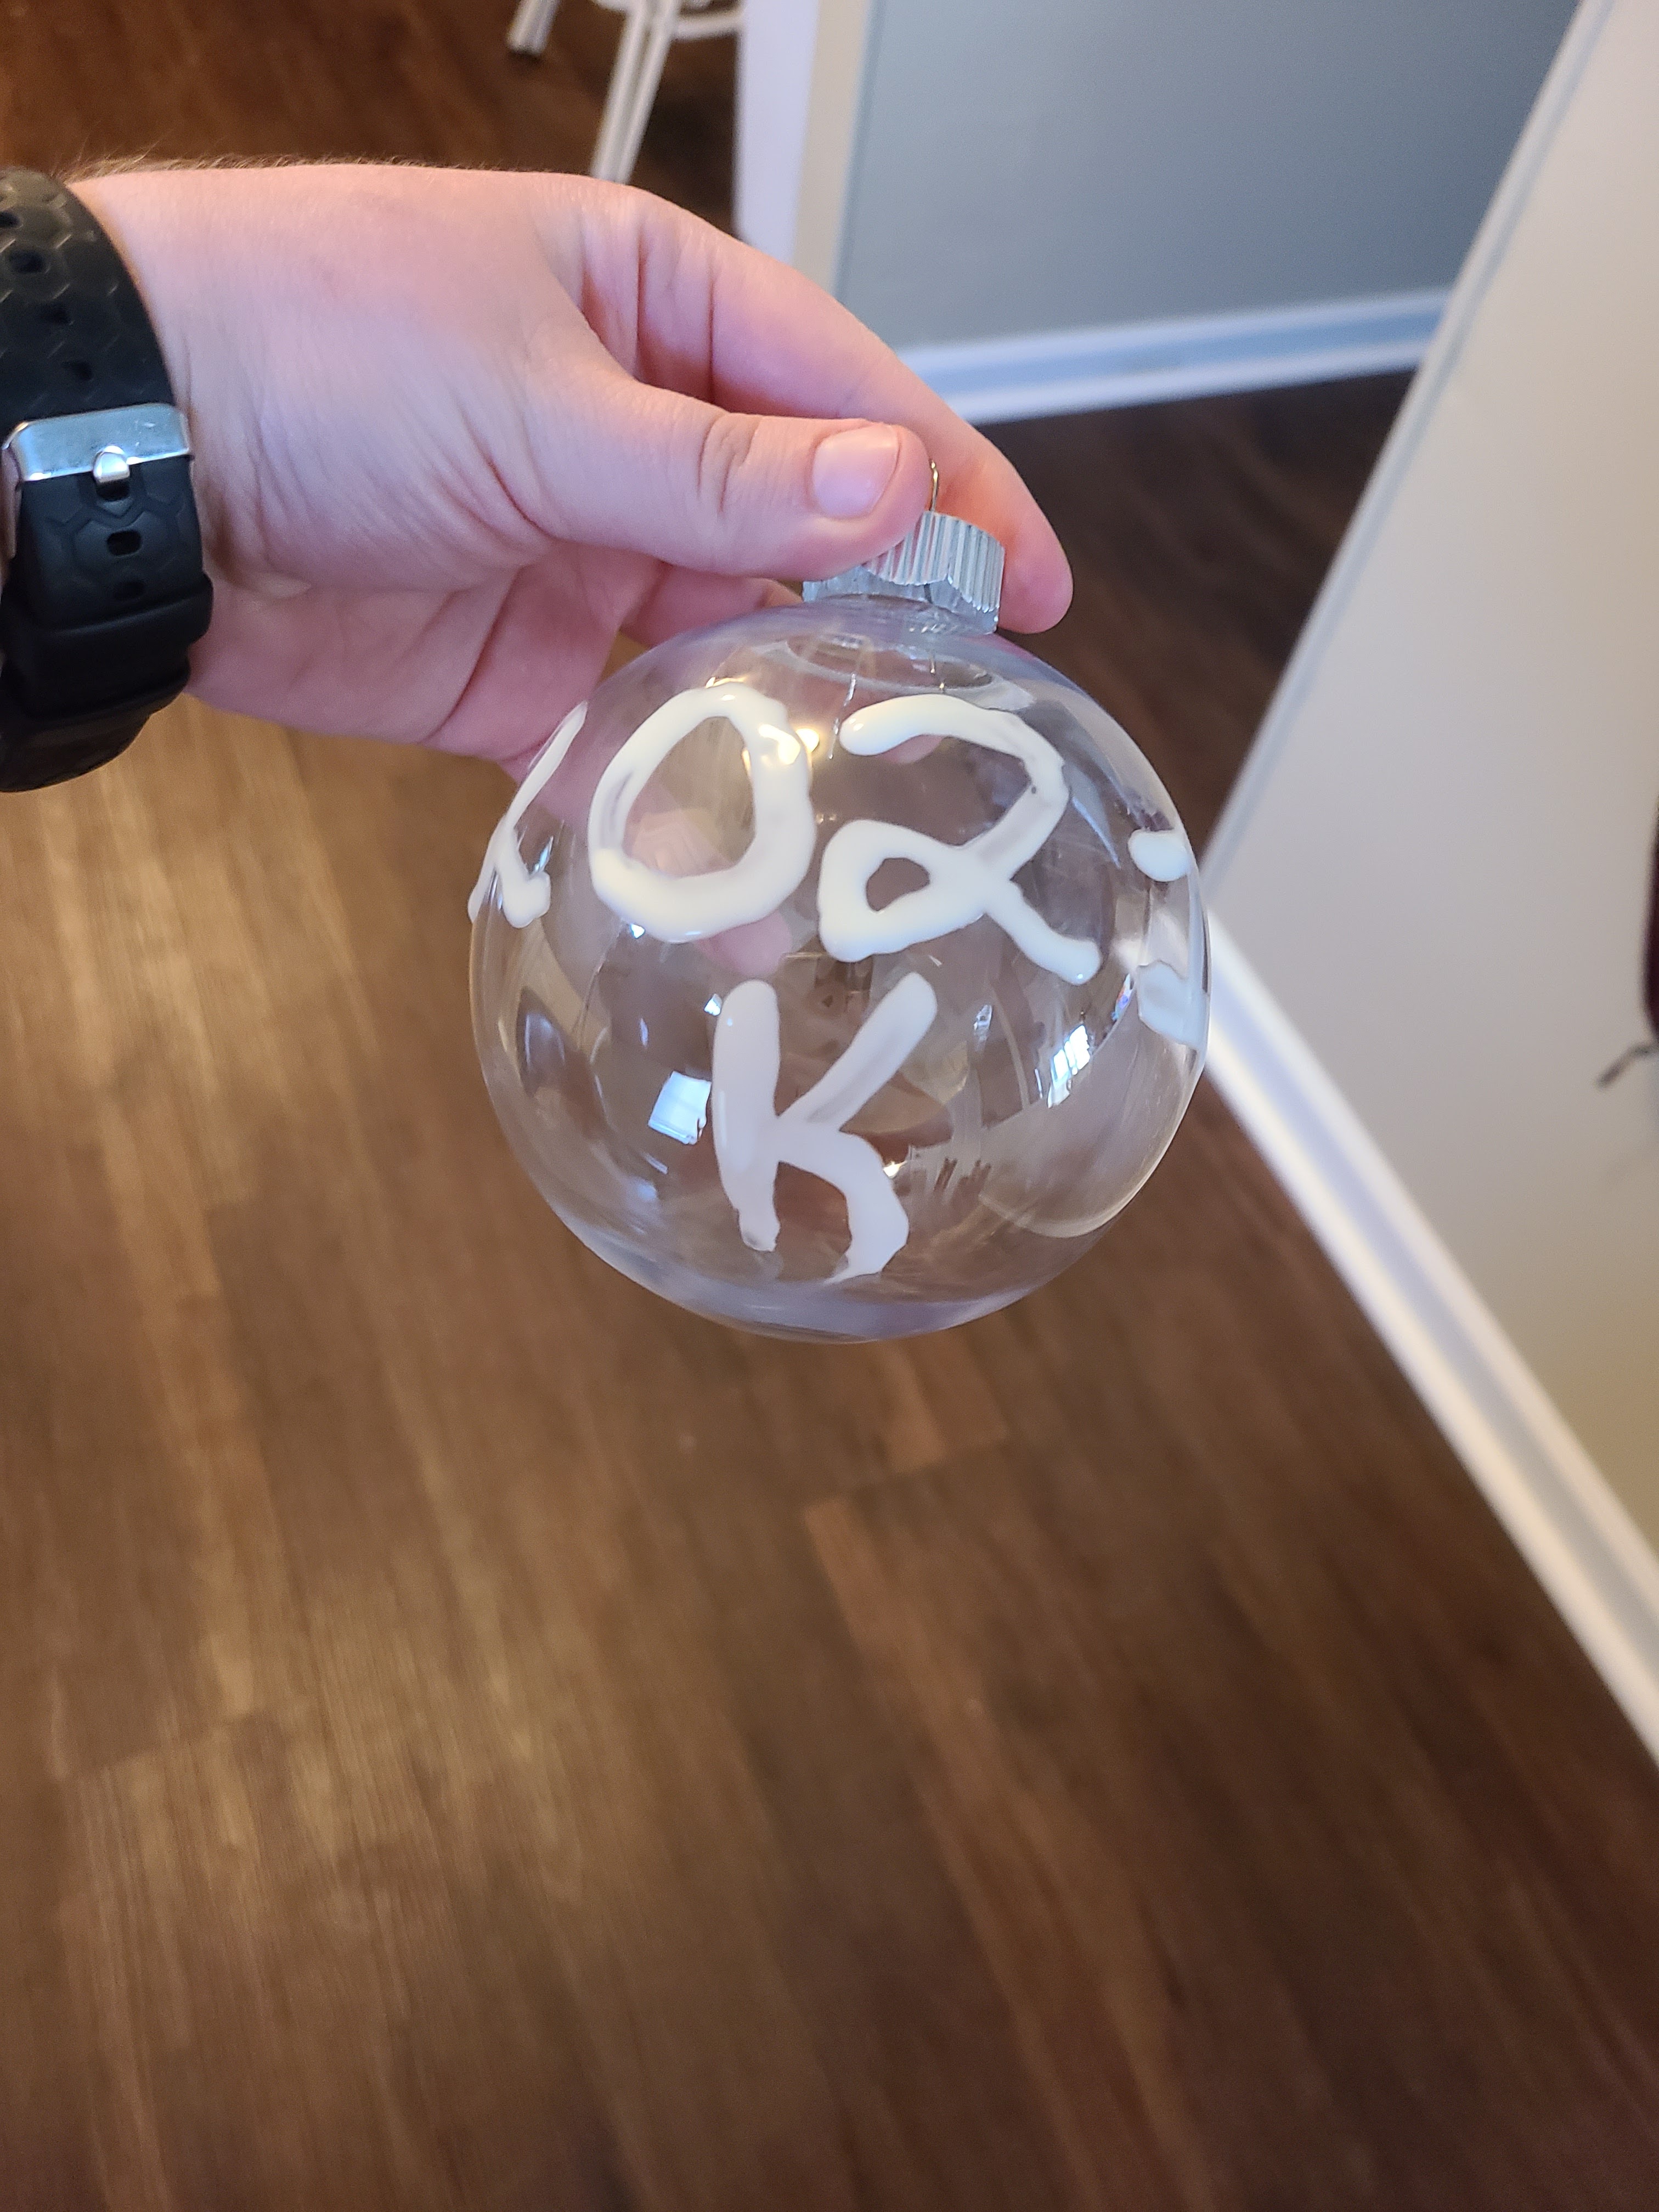
- Take your ornament and Mod Podge. The original idea covered the entire back of the ornament. But I changed this a little to make it more personalized. Instead of covering the entire back, I wrote the year and my initial (I made multiple of these).
2. Cover the Mod Podge with glitter. Fair warning: glitter will get everywhere. So I would suggest doing this over some kind of disposable container in an attempt to control the glitter. It’s still all over my table. Let dry about 20-30 minutes.
3. Roll up the photo so that it will fit into the ornament’s opening. Use the eraser of a pencil to smooth out the photo along the edge of the ornament. I put the back of the photo against the year, but you can change the position if you so choose.
4. Next comes the filling with snow. I set my ornament in a cup and put a funnel in the top. I also turned both the ornament and the funnel on their sides a little bit. Through trial and error, I found that it was easier to keep the photo in place if you started with the snow against the photo so that it was able to be supported without glue or any other adhesive.
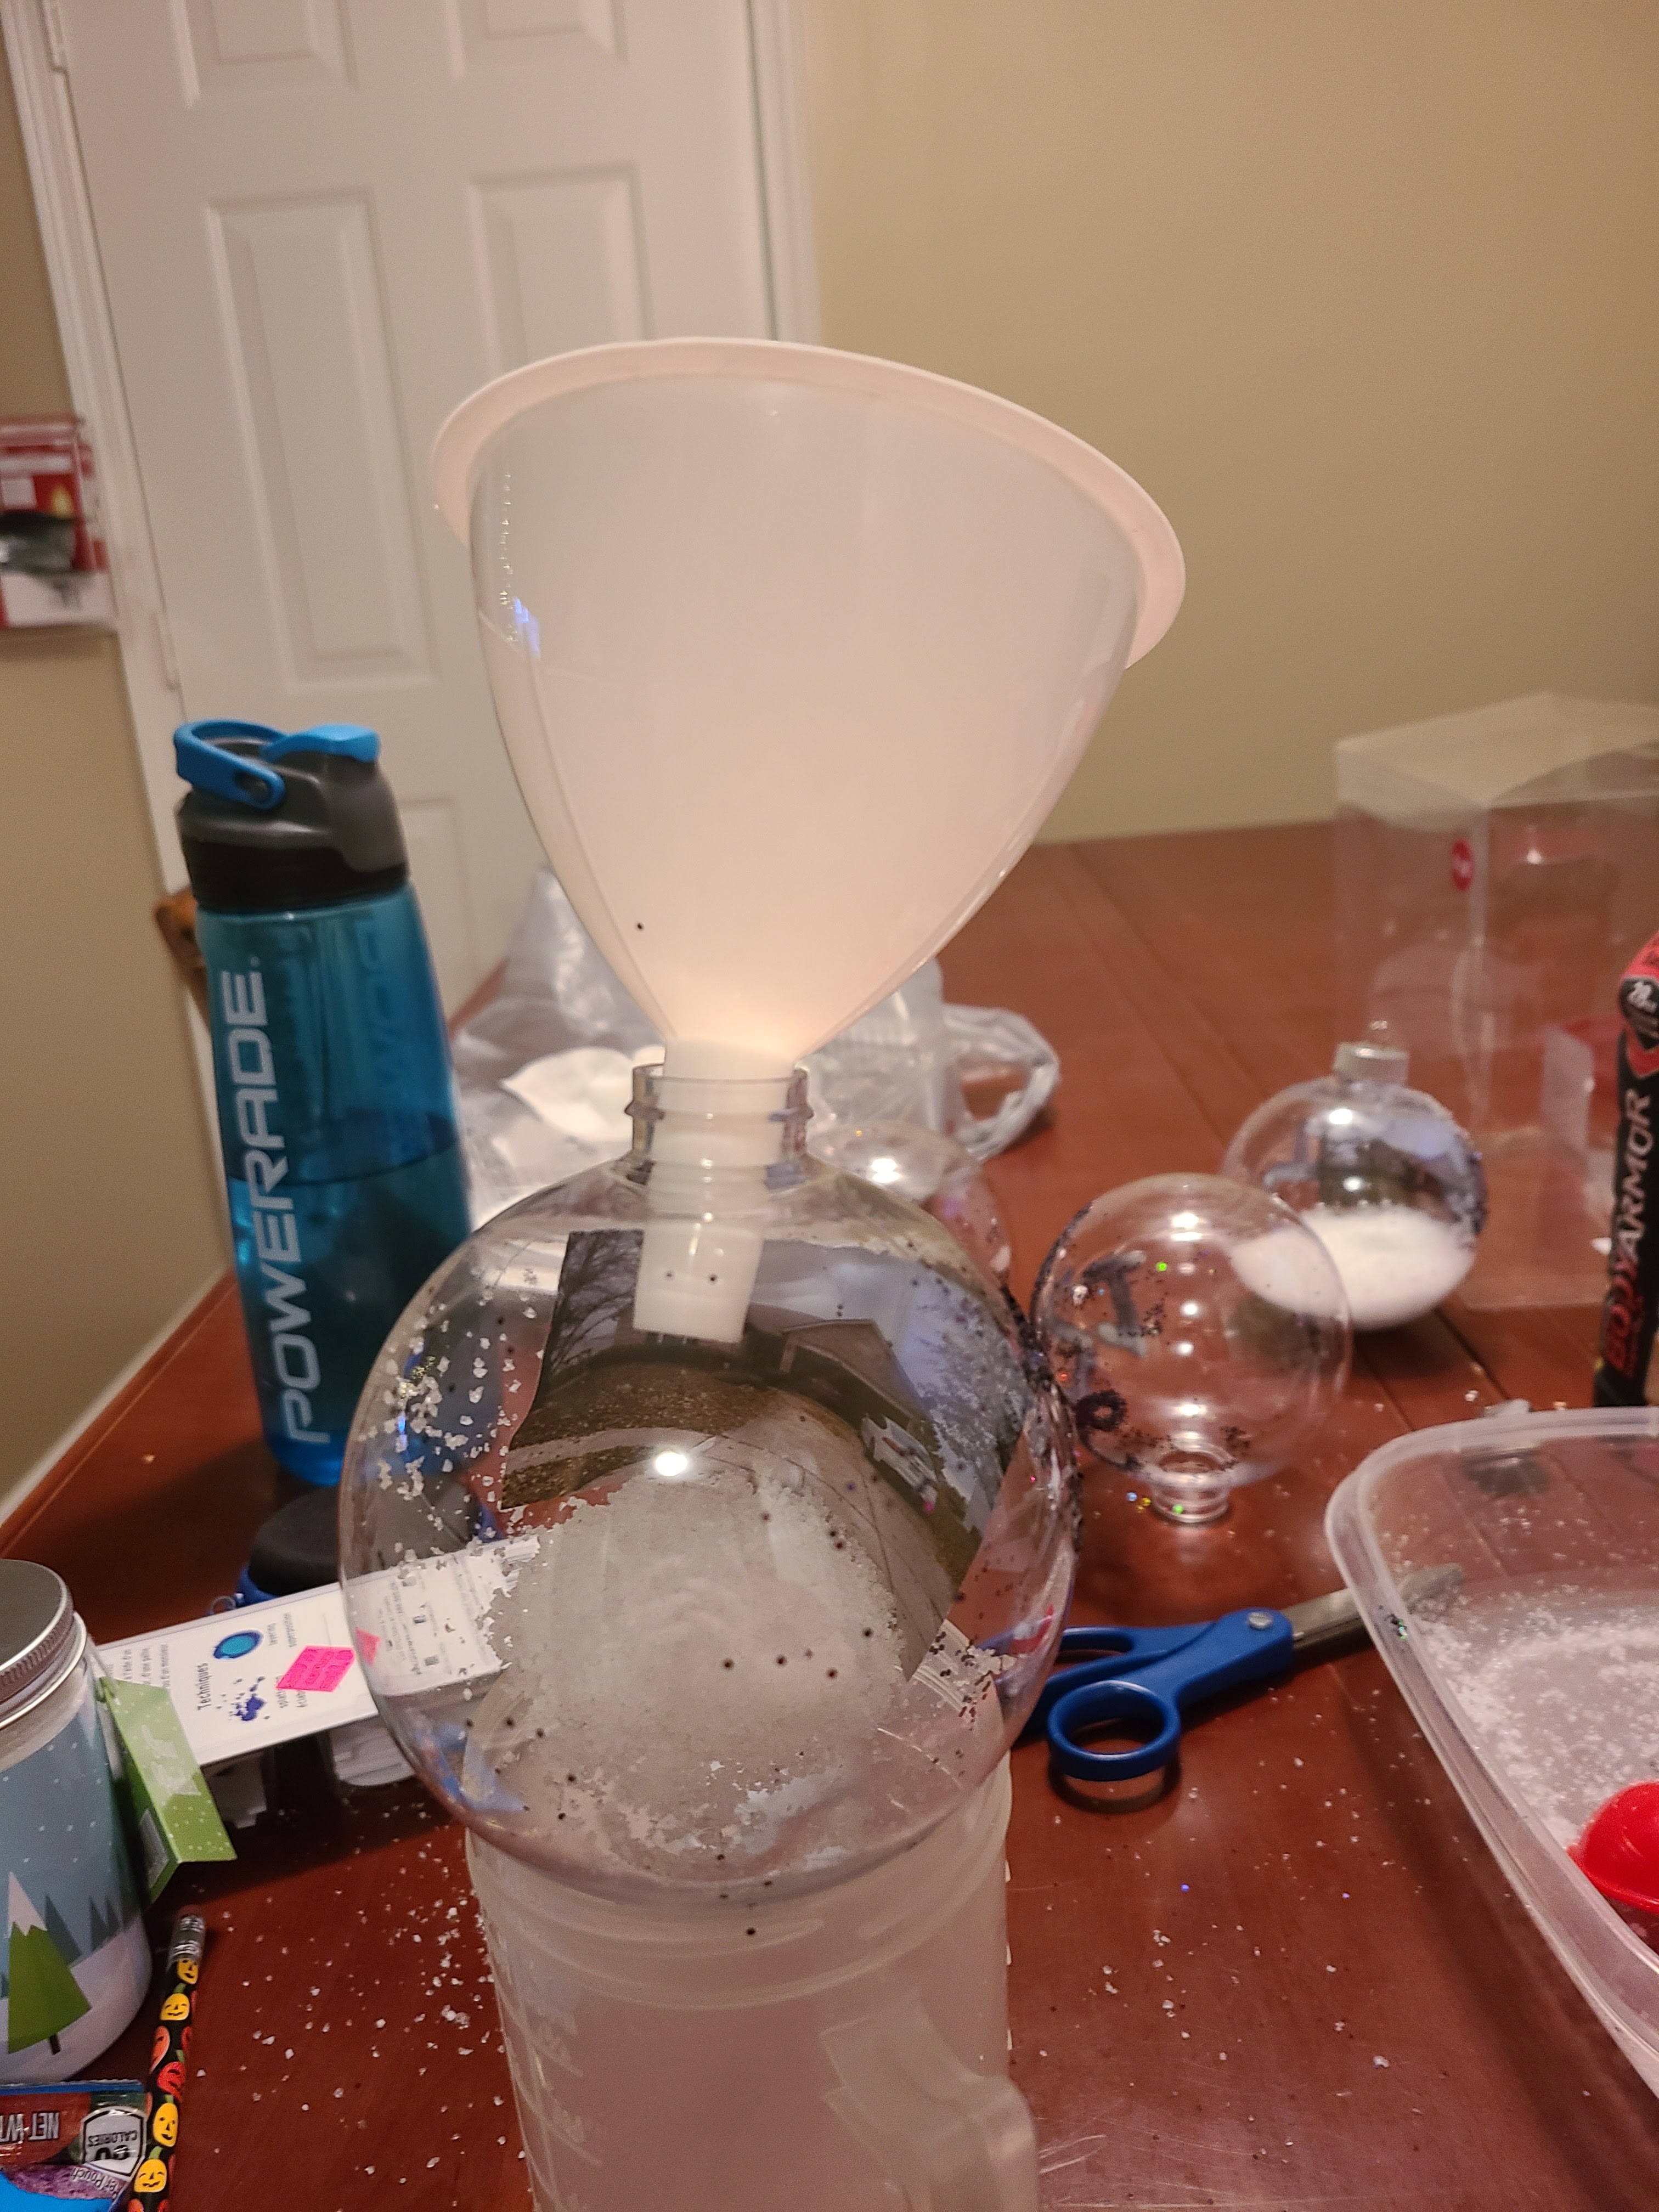
5. Fill with snow until satisfied. There was no specification, and the ornaments I used were bigger than the ones the original link used, so I used more snow than they did.
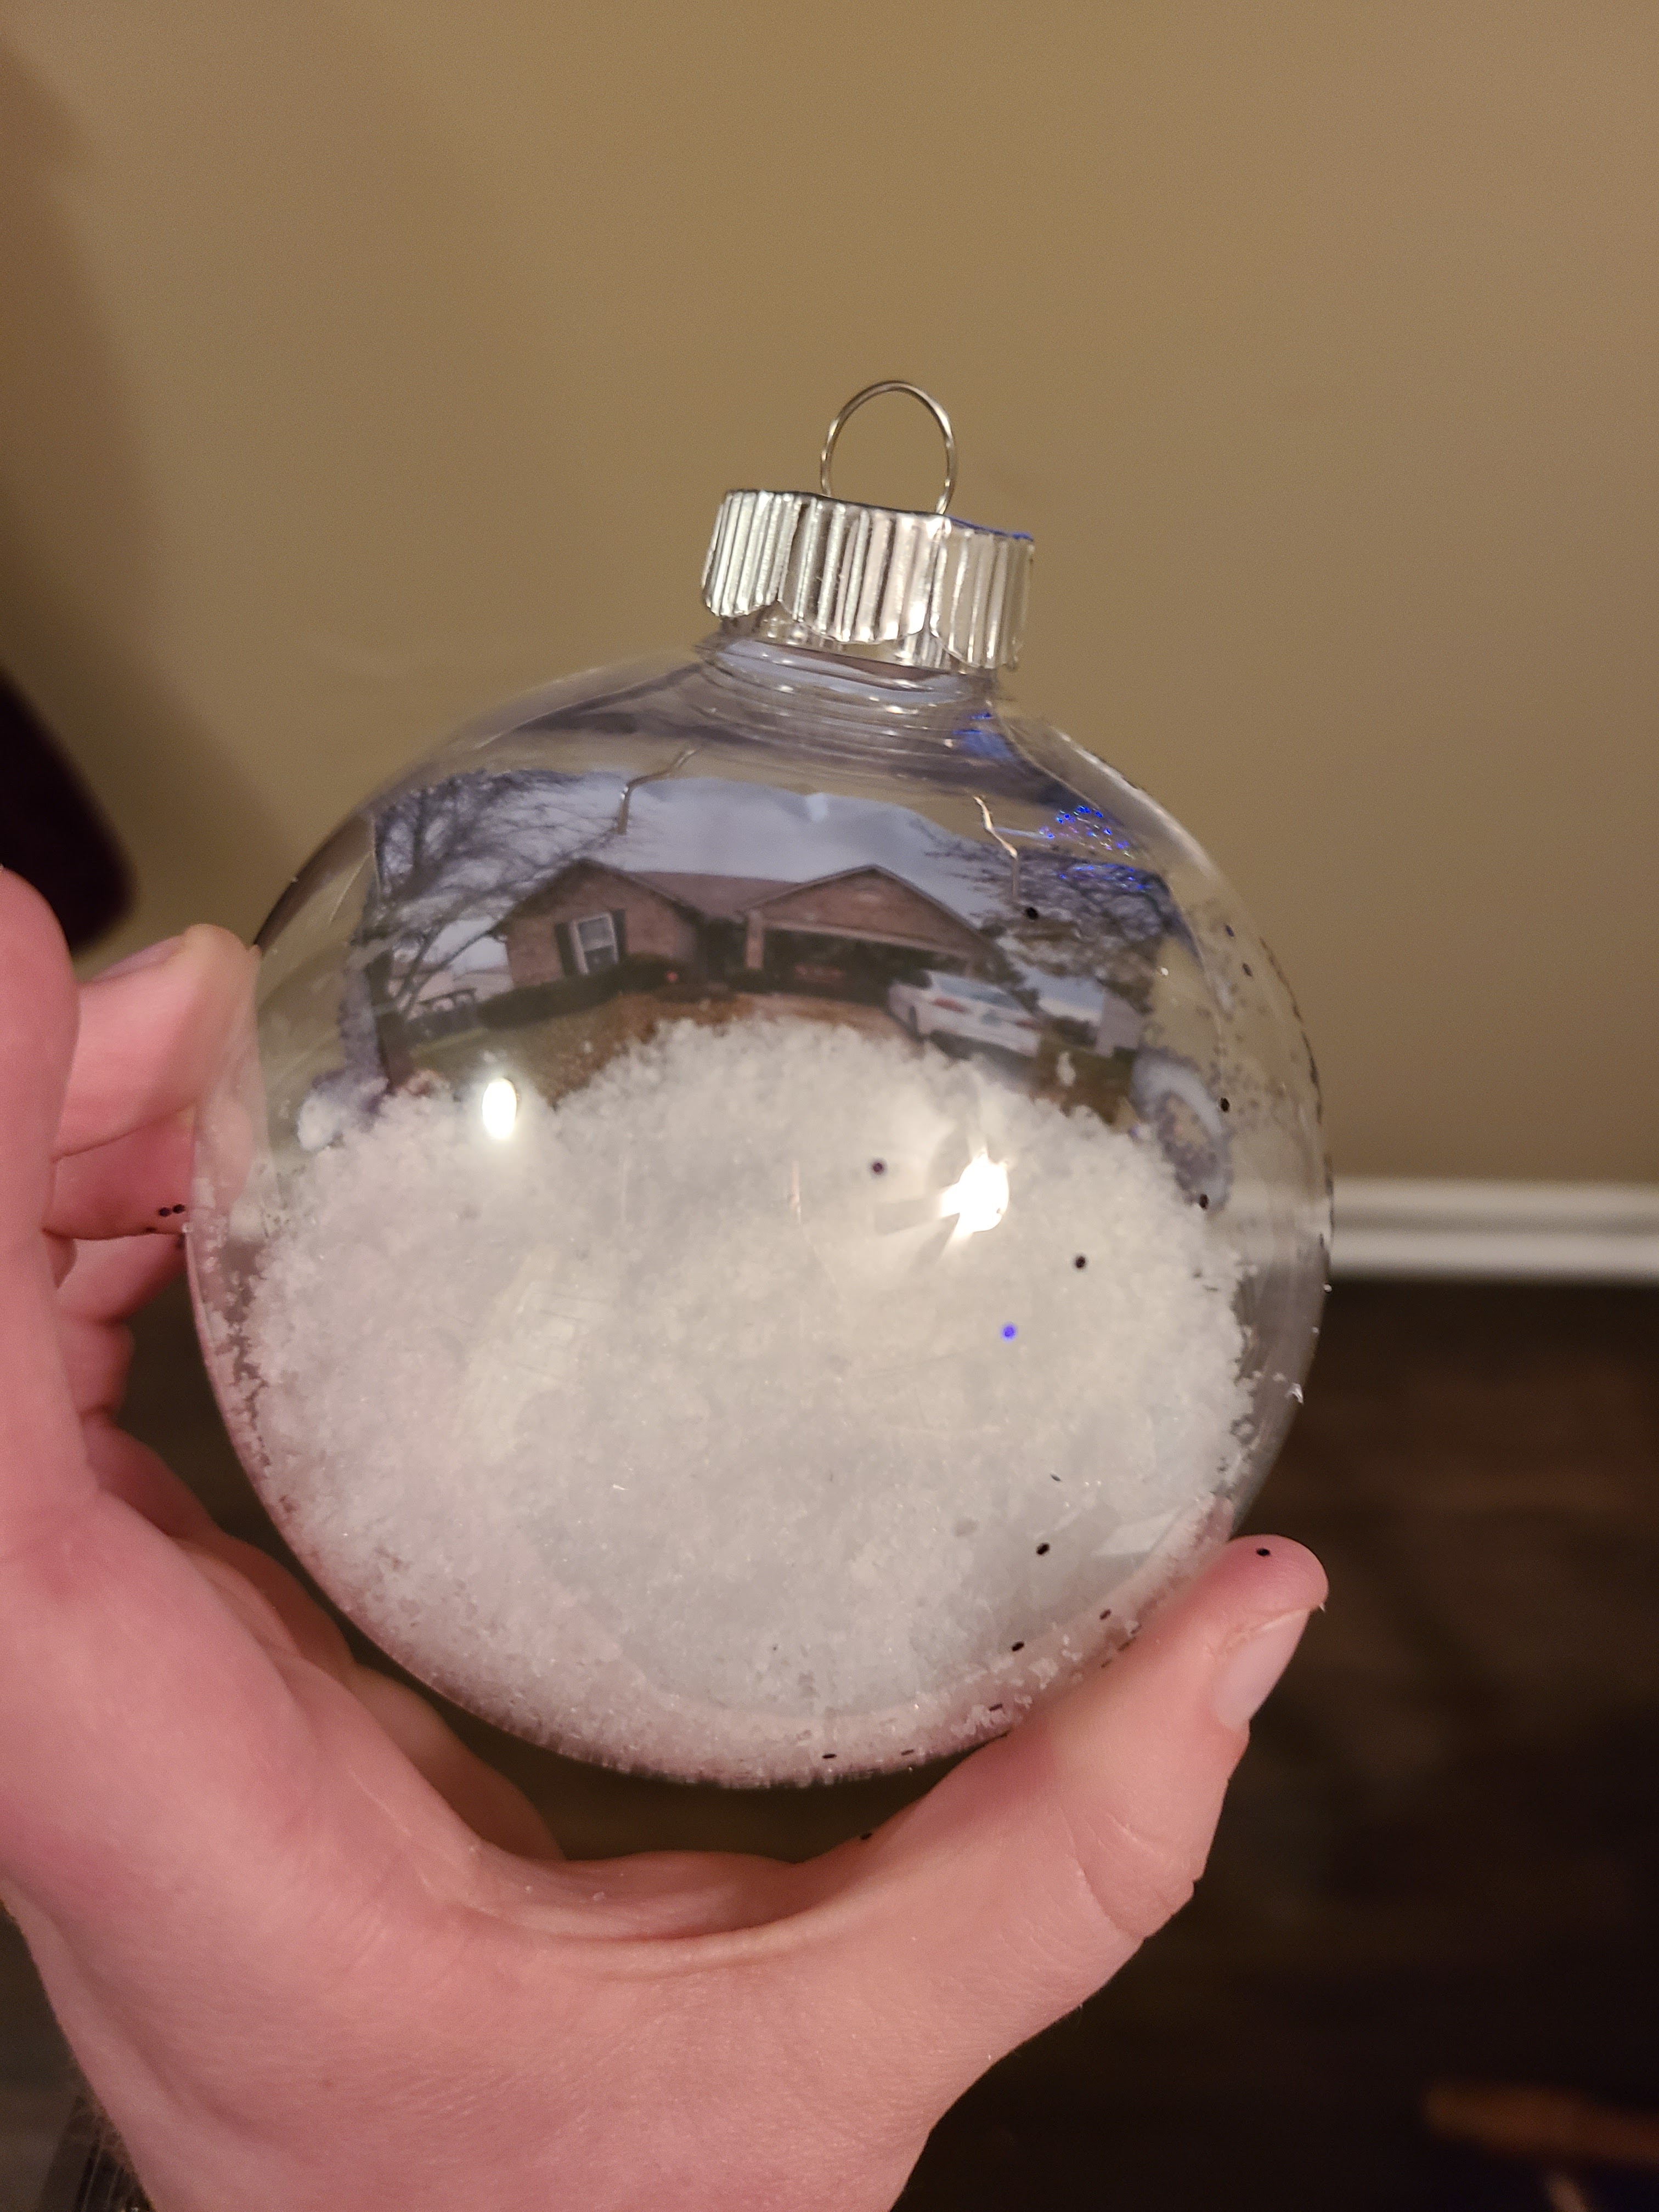
And there you have it! A simple, easy photo globe ornament! I found that this isn’t the most stable, so don’t try to shake it because the picture will move. But this was really easy to make and didn’t take too long. So if you need a quick gift or decoration, this is a really great one to try!